Thursday, 23 October 2014

Manual Camera Settings

This is an under-exposed picture, I used 400 for the IS. The shutter speed I used for this picture was 1/60. 


These two pictures are correct as it's not 

under-exposed or over-exposed. I used 800 
ISO and the shutter speed was 1/25.


This picture is over-exposed as the ISO was 400. The shutter speed that I used was 50.


Thursday, 9 October 2014

Adjustment Layers (Photoshop)

What is 'adjustment layers'?


An adjustment layer applies color and tonal adjustments to your image without permanently changing pixel values. So for example, using adjustment layers is adding different effects/tones to the image you are editing. With using adjustment layers, you can easily delete them without ruining or complicating your image. 


What is 'hue/saturation?'


The Hue/Saturation command adjusts the hue (color), saturation (purity), and lightness of the entire image or of individual color components in an image. You can use the Hue slider to add special effects, to color a black and white image or sepia effect or to change the range of colors in a portion of an image.The hue and saturation simply makes your image another colour and how bright or dark you want the saturation to be. 
This is before using Hue/Saturation 

After using Hue/Saturation


Show how opacity works


The Opacity level is a feature in Adobe Photoshop which allows you to make layers more or less transparent. It is scaled on a measure of 0 - 100, with 0 being 100% transparent and 100 being 100% opaque.
Scaled measurement of 0-100


With using Opacity
Without using Opacity


Black&White

To get the black and white effect, you'll have to find it on adjustments like the rest of the tools. Once you've clicked, it should automatically give you black and white effect without changing the other options. 


Curves

Curves on Photoshop gives you different kind of highlights depending which you curve it too. For example, moving a point in the top portion of the curve adjusts the highlights. Moving a point in the center of the curve adjusts the mid tones, and moving a point in the bottom section of the curve adjusts the shadows.
On the picture below, I have messed around with the curves and this is the kind of effect it gives you.


Thursday, 2 October 2014

Edgar Degas - Research

Edgar Degas

Degas was a french artist, famous for his paintings, sculptures, prints and drawings. Most of his work was influenced around dancers and their movements. Once photography came out in 1837, artist could make their work more 'realistic' meaning more real and formal. When photography first made an appearance, the 'painters' had a lot to say as they thought they had the 'easy' option to publish their pictures. When the research and detail came out more about photography and what they could do, the painters came to realise that it wasn't that 'bad' after all. The photographers could get a more 'realistic' photography as they could shoot the movements instead of just still life photos. This meant that they didn't need everyone in the shoot to make it 'perfect', more real the photo, the more better it was. So all this influenced the painters to not paint 'perfectly' as  it didn't matter if someone or something was out of place or not everyone was in the shot fully as photography made the paintings believable. 


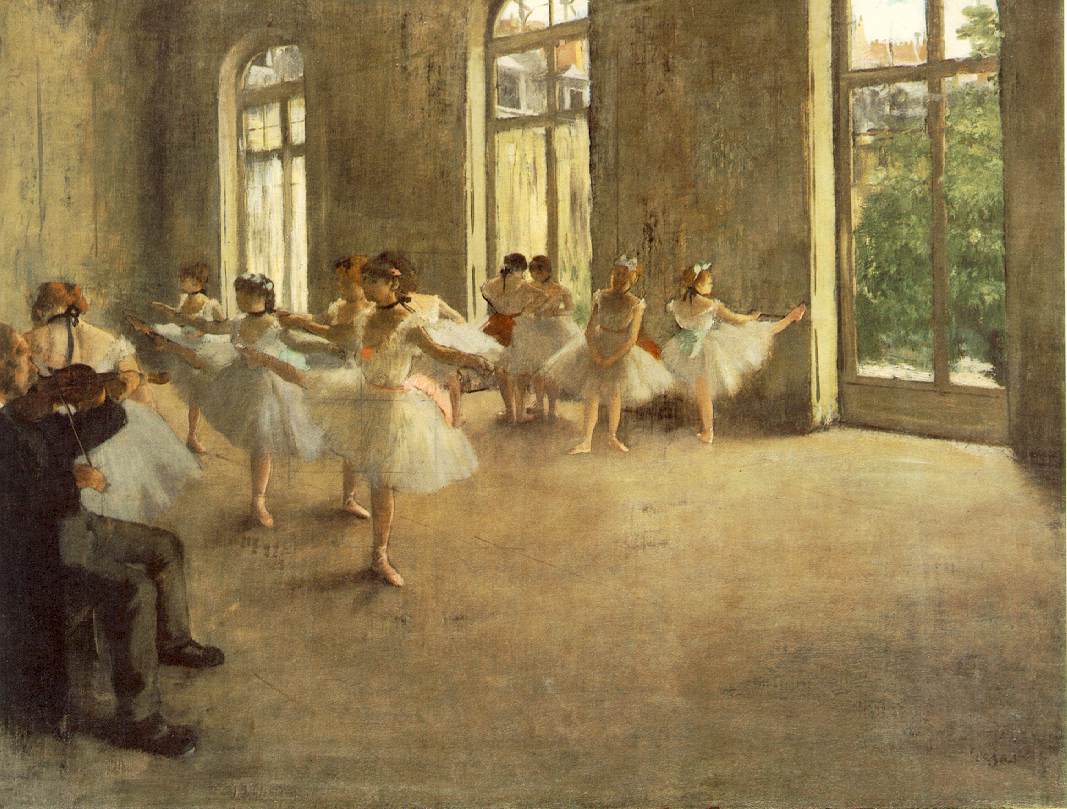
Example of everyone not needing to be in the shot
to make it more 'real' and 'believable' instead of
something that seems 'set up'. This is an example of
a cropped photo.


Early Kodak Photographs


The pictures below are examples of 'Early Kodak Photographs'. 
Kodak was a simple box camera that came loaded with a 100-exposure roll of film and When the roll was finished, the entire machine was sent back to the factory in Rochester, where it was reloaded and returned to the customer while the first roll was being processed. 'Kodak' had a 'memorable slogan' called "You press the button, we do the rest."
During the first decade of the twentieth century, a number of serious amateur photographers reacted to the snapshot craze by forming organisations dedicated to promoting photography as a 'fine art', rather than as a 'popular pastime' or 'commercial' pursuit'
The 'Early Kodak Photographs' meant that photos where cropped ridiculously as the shape of the photo that was produced was a shape of an circle, meaning everything wasn't involved in the image.


Own images


For this image, I have used the 'looking up' effect for the 'creative use of the camera height'. I took this photo in college, personally I think to improve this photo I should of left more opening distance at the top of the photo to make the image look more better. 


For this image, I have used the 'looking up' effect for the 'creative use of camera height'. I took this in my back garden, I personally think this one looks better than my first attempt in college as this one seems like more is going on in the actual picture.  


 For this image, I have used the 'camera crop' effect. I took these two pictures in college, for the 'camera crop' I took a picture but without including top of her head. To improve this image, I would next time change where about I cropped to make the photo look more interesting and not boring. 


 For this image, I have used the 'camera angle' effect, I took this image in my back garden. To maybe develop and improve this picture for next time, I would involve a building to get the 'angle' an more noticeable effect in the photo as everything just clashes together.